Terraform is one of many tools created by HashiCorp, which is currently a staple in almost every DevOps workflow. Used in the Infrastructure as Code (IaC) approach, it allows for easy change control, reusability, and process automation, among other things.

Terraform – basic information
Terraform gives us a choice of two supported configuration file standards. The more popular, native HCL (HashiCorp Configuration Language) and JSON. File extensions vary depending on the standard you choose, with HCL being main.tf and JSON being main.tf.json.
If you haven’t installed terraform yet, please do so now – Downloads | Terraform by HashiCorp.
Basic commands in Terraform:
a. terraform init – initialize the project and download plugins,
b. terraform plan – displays the changes that will be applied to the existing infrastructure,
c. terraform validate – validates the configuration files,
d. terraform apply – creates or updates the existing infrastructure,
e. terraform destroy – deletes previously created infrastructure,
f. terraform fmt – formats files according to a specified standard.
The first project – create an AWS account
Our first projectin the Infrastructure as Code (IaC) approach rest on AWS, so it is necessary to have an account on this platform and download AWS CLI: Installing or updating the latest version of the AWS CLI – AWS Command Line Interface.
Next, we have to create an AWS access key:
Create an AWS access key and use „aws configure” command to log in to our account.
The next step is to create 5 files:
provider.tf, main.tf, variables.tf, data.tf, outputs.tf, and then modify them to look like this:
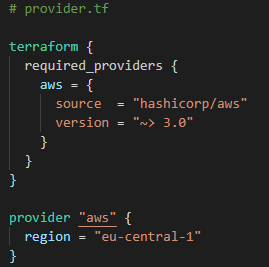
At the very beginning, we define the provider we want to use in this case. It’s AWS – and the version of the plugin to be downloaded. In the end, we optionally set the region in which terraform is to create resources. If the region is not specified in the file, we will have to fill it in the console when creating the infrastructure.
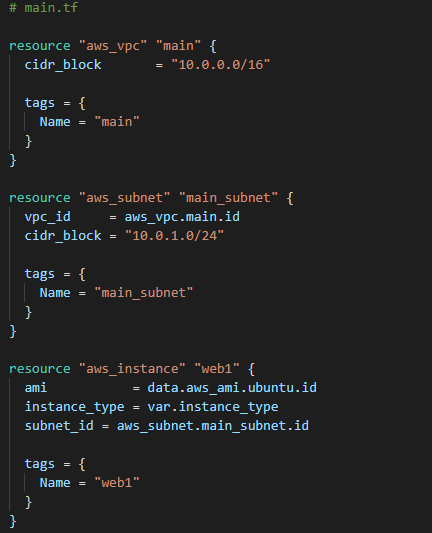
Resource block declaration
In the main.tf file, we define the vpc, the subnet, and the instance. The keyword „resource” tells that we want to create an object. A properly declared resource block looks like this: resource „type” „name_local” { arguments }. Specific types may have many different mandatory/non-mandatory arguments that are easiest to check in the documentation of the provider – e.g. AWS – Docs overview | hashicorp/aws | Terraform Registry. In the aws_subnet block we refer to aws_vpc.main.id. It’s a reference to a previously created aws_vpc with the local name main. The .id suffix tells terraform that we only want the id of our VPC. Thanks to the var prefix in instance_type, we’ll use our variable defined in the variables.tf file. The same goes for the data prefix and the data.tf file.
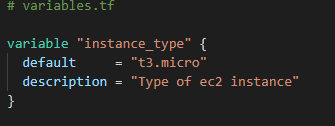
The variables.tf file is responsible for variables. In addition to arguments such as a default value or description, we can define the type and even validate a variable.
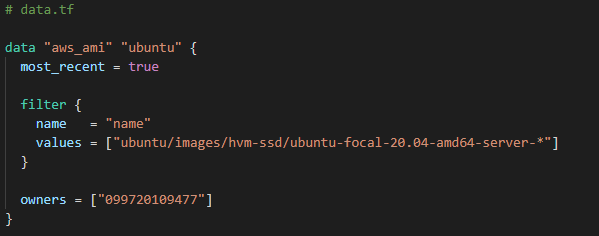
Data – the data source – is responsible for retrieving information defined outside of our tool. In this case, we filter AMI using the name and defining the owner of the image.
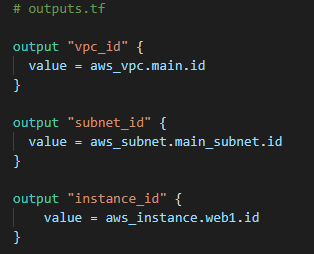
The last file – outputs.tf and its elements allow us to display information about the created infrastructure and use it in other configuration files.
* division into five files is optional. It is possible to put all elements in one single file. But it does not guarantee such clarity as in the example above.
Running a project
Firstly, to start the project, we need to initialize it in the main folder – terraform init. Then, create our infrastructure – terraform apply. Optionally, before making the infrastructure, we can check what will be created/modified with the „terraform plan” command, or format our file – terraform fmt. If you want to delete what you have created, simply call „terraform destroy” in the console and confirm.